Roof rats are the most common rodent in Australian ceilings, and the most commonly mistreated. People buy bait, throw it in the manhole, get two weeks of quiet, and conclude the problem is solved. It comes back — usually within a month, and often worse, because the survivors breed into the space the dead ones left.
Getting rid of them permanently is a three-stage sequence, and the order is not negotiable.
Stage one: work out exactly what you have
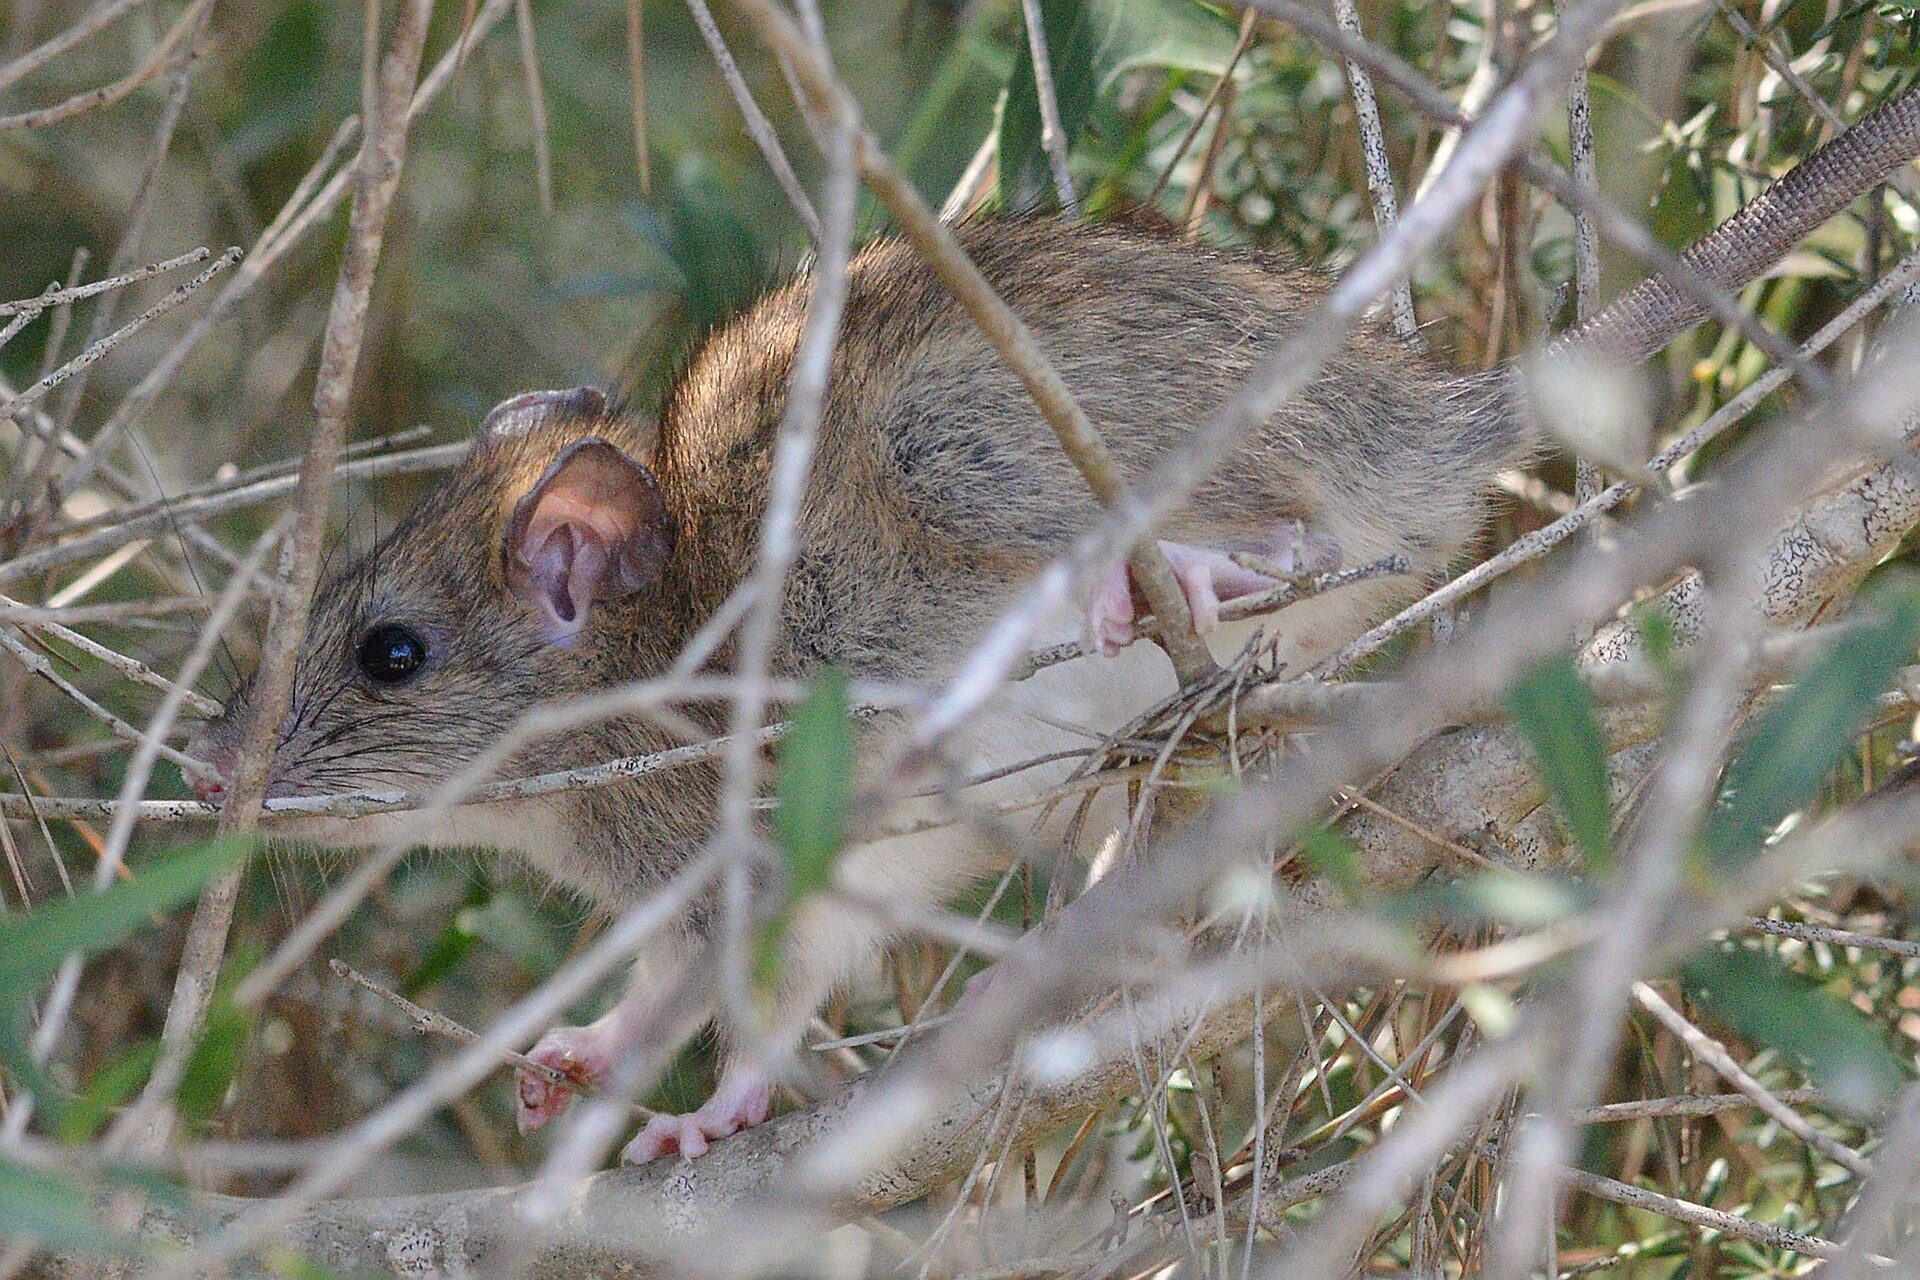
Confirm the species. Roof rats (black rats) are the climbers. Slim body, tail longer than the body, large ears, pointed nose. They nest high — roof cavities, wall tops, palms and dense vines. Norway rats are heavier, blunt-nosed, short-tailed, and nest low in burrows and subfloors. If you are hearing activity above the ceiling, it is almost certainly roof rats, and treating the yard for burrowing rats will achieve nothing.
Find the runs, not the rat. Rats are creatures of habit. They follow the same route nightly, and that route is where every trap and station has to go. Look for:
- Rub marks. Dark grease smears along the top of wall plates, on rafters, and where they squeeze past a fixed edge.
- Droppings in lines. Concentrated along a route rather than scattered.
- Gnaw damage. Fresh gnawing is pale; old gnawing has darkened.
- Tunnels in insulation. Compressed channels through batts, leading to a nest cavity.
Find the nest. Roof rat nests are shredded material — insulation, cardboard, fabric — packed into a corner, a boxed-in pipe run, or the space above a bulkhead. Treatment near the nest works dramatically faster than treatment at the manhole.
Find the entry points. Externally, walk the perimeter and look up. The classic entries are the gap under the first row of tiles at the gutter line, corroded valley irons, the junction where a newer extension meets the original roof, gaps behind fascia boards, unscreened roof vents, and any point where a pipe or cable enters the building.
Also look at what is touching the roof. Roof rats climb; they do not need a ladder. An overhanging branch, a palm crown, a bougainvillea trained up a wall, a downpipe against a rough render wall, a boundary fence running into the eaves — all are access. The working rule is 1.5 metres of clearance around the roof line.
Stage two: treatment that actually reduces the population
Placement beats product. Any professional-grade bait or trap works if it sits on an active run. The same product on the floor of the roof cavity, three metres off the route, does almost nothing. This single fact explains most DIY failure.
Use tamper-proof stations. Locked stations do three jobs: they keep bait away from children, pets and non-target wildlife; they hold the bait where rodents actually travel; and they let you measure take between visits, which is the only way to know whether the population is falling.
Use enough of them. A common under-treatment is two stations in a roof that needs eight. Roof rats range up to 50 metres, but they will not detour far from an established run — so coverage has to follow the runs across the whole cavity.
Consider traps where bait is a problem. In food premises, in homes with young children, or where a previous baiting produced a carcass odour, a trap-only program is a legitimate approach. It is more labour intensive because traps need clearing, but the carcasses are recovered rather than dying in cavities.
Expect a curve, not a switch. Take is heaviest at days three to five. Noise usually drops noticeably in week one. Control is confirmed when take stops and no new activity appears — typically 7 to 14 days in a home, longer in a heavily infested commercial site.
Remove the competing food. Bait competes with whatever else is available. Accessible bins, pet food left out overnight, chicken feed, fallen fruit, an open compost heap and bird seed all extend the timeline. Fixing those is free and it shortens the job.
Stage three: proofing, which is what makes it permanent
This is the stage that gets skipped, and it is the only one that changes the long-term outcome.
The tolerance is 20mm for rats. Anything wider is an entry. If mice are also present, the tolerance drops to 6mm, which is a substantially bigger job.
Materials that hold:
- Galvanised or stainless steel mesh for gaps, vents and the gutter line under tiles.
- Steel wool packed into voids before sealing, for irregular gaps around pipes.
- Metal flashing at roof-to-wall junctions.
- Mortar for masonry gaps and re-bedding ridge capping.
- Replacement sheeting for damaged eaves — patching eave sheet fails.
Materials that do not hold: expanding foam alone (gnawed through in a night), silicone alone, plastic mesh, chicken wire (rusts, and rats tear it), and gaffer tape, which we genuinely do find.
Order of work. Seal after the population is controlled, not before. Sealing first traps rats inside, where they gnaw at the repair from the inside, move deeper into wall cavities, and die in places nobody can reach.
Do not forget the roof-to-tree relationship. You can seal a building perfectly and still be re-colonised if a palm crown sits over the gutter. Trimming is part of proofing.
Why rats come back after a "successful" treatment
The entry was never closed. The most common reason by far. New rats follow the scent trails left by the previous population — those pheromone trails persist and actively advertise the building.
Only part of the roof was treated. Large or subdivided roof cavities — a house with an extension, a two-storey with separate voids — can hold two populations. Treating the accessible half leaves the other half breeding.
A neighbouring source. A derelict property, a poorly managed food business, a construction site or a neighbour with an unsecured chicken coop will keep supplying rats. Proofing your own building is the only defence you control.
Seasonal re-entry. Autumn is the peak. Cooling nights push rodents from gardens into buildings, and a roof that was clear all summer fills in April.
What professional treatment includes that DIY usually does not
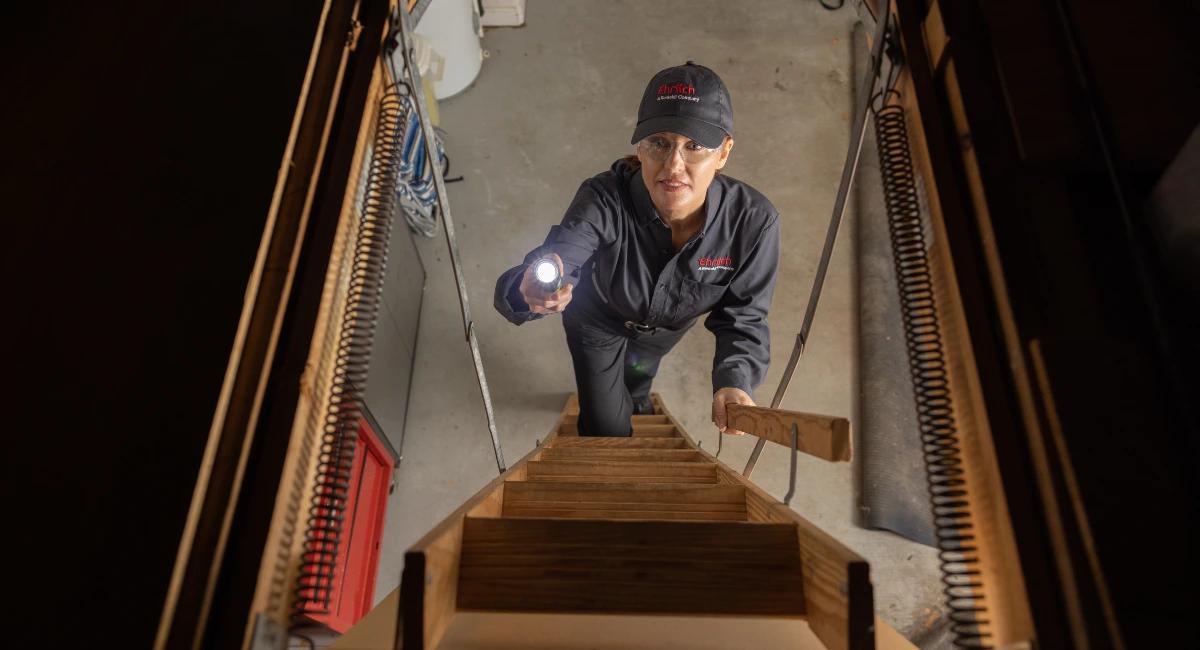
- A cavity inspection that identifies species, nest location and runs before anything is deployed.
- Enough stations, positioned on the runs, mapped on a plan.
- A follow-up visit to confirm activity has stopped rather than assuming it has.
- Carcass recovery where accessible.
- Proofing to the correct tolerance with materials rodents cannot chew.
- A written report you can give to strata, an insurer or a buyer.
A realistic timeline
- Day 0 — inspection, species confirmed, stations and traps deployed on the runs.
- Days 3 to 5 — peak take. Noise begins to drop.
- Days 7 to 14 — follow-up visit. Stations checked and restocked, carcasses cleared, activity re-assessed.
- Once activity stops — proofing. Gutter line, vents, penetrations, eaves, roof junctions.
- Ongoing — annual check of the roof line, especially after storms, and keeping the 1.5 metre clearance.
The health and safety side
Rodents in a roof cavity are not just a noise problem. Urine and droppings accumulate directly above your ceiling, and the allergens travel down through downlights and exhaust fans. Leptospirosis and salmonella are both associated with rodent contamination. Chewed cable insulation is a recognised fire risk, and it is the single most expensive consequence of leaving an infestation running.
When cleaning up droppings, dampen the area with disinfectant first rather than dry sweeping, wear gloves and a mask, and bag waste before removing it. Dry sweeping aerosolises contaminated dust, which is the main exposure route in a domestic clean-up.
The short version
Find the runs. Treat on the runs with enough stations. Confirm the population has stopped, not slowed. Then seal every gap over 20mm with steel and metal, and cut back whatever is touching your roof.
Skip the last step and you are booking the same job again next autumn.
What it costs, and what changes the number
Rodent work is priced on property size, infestation severity and how much proofing the building needs — not on the number of rats.
Property size and layout. A single-storey three-bedroom house with one roof cavity is a straightforward station plan. A two-storey with separate voids, a subfloor and an attached garage is three separate treatment areas.
Severity. A population caught early needs fewer stations and one follow-up. An established colony with an active nest in the insulation needs more stations, more visits and usually insulation work afterwards.
Proofing scope. This is the biggest variable, and the one worth investing in. Sealing a modern brick-veneer home to 20mm might be a couple of hours. Sealing a hundred-year-old weatherboard cottage with a raised subfloor, original vents and a re-roofed extension is a much larger job — and it is the job that stops you paying for treatment every autumn.
Access. Confined subfloors, steep roofs and second-storey work all add time.
What should not vary is the inspection. A free inspection with a fixed price quoted before work begins is the standard to hold providers to — and any quote given over the phone without someone looking in the roof is a guess.
Commercial and strata situations
Food premises. A rodent sighting in a café or restaurant is a closure risk, not an inconvenience. Treatment has to work around trading hours, bait placement has to comply with food-safety requirements, and you need documentation — station maps, visit logs and reports an auditor or council inspector will accept.
Strata blocks. Rodents do not respect lot boundaries. A single unit treating internally while the roof space, bin room and subfloor go untreated is spending money for a fortnight of relief. Effective control in a strata block means treating common property and the affected lots together, which requires the owners corporation to act. A written report addressed to the strata manager, showing the entry points and the recommended scope, is what gets that moving.
Warehouses and retail. Loading docks, roller-door thresholds and pallet storage are the classic weak points. Ongoing programs with scheduled monitoring are usually cheaper than reactive callouts.
Cleaning up after the population is gone
Droppings. Do not dry sweep. Dampen the area with a disinfectant solution first, then collect and bag. Dry sweeping aerosolises contaminated dust, which is the main exposure route in a domestic clean-up. Wear gloves and a fitted mask.
Insulation. Batts that have been tunnelled, nested in and urinated on are not recoverable. Removing and replacing the affected area is standard, and it also removes the scent trails that advertise the building to the next population.
Contaminated surfaces. Any surface that had rodent traffic gets disinfected — top plates, stored boxes, and anything in a garage or shed the rodents were using.
Odour. If an animal died in an inaccessible cavity during treatment, that is a separate job. Placement is chosen to minimise it, but with any baiting program it can happen.
Preventing re-entry, month by month
- Every month — check that bins seal, pet food is stored in solid containers, and nothing edible is left out overnight.
- Every three months — walk the perimeter and look for new gaps at service penetrations, weep holes and door thresholds.
- Every six months — clear the gutters. Leaf build-up lifts tiles and creates the gutter-line gap that lets rodents and possums in.
- Annually — trim vegetation back to 1.5 metres from the roof line, and check the roof after storm season.
- After any building work — re-inspect. Renovations routinely open new penetrations that nobody seals.
Want it handled instead?
A licensed technician is on site within 60 minutes across Sydney, Brisbane, Canberra and Melbourne. Free inspection, fixed price, booking confirmed within 10 minutes.