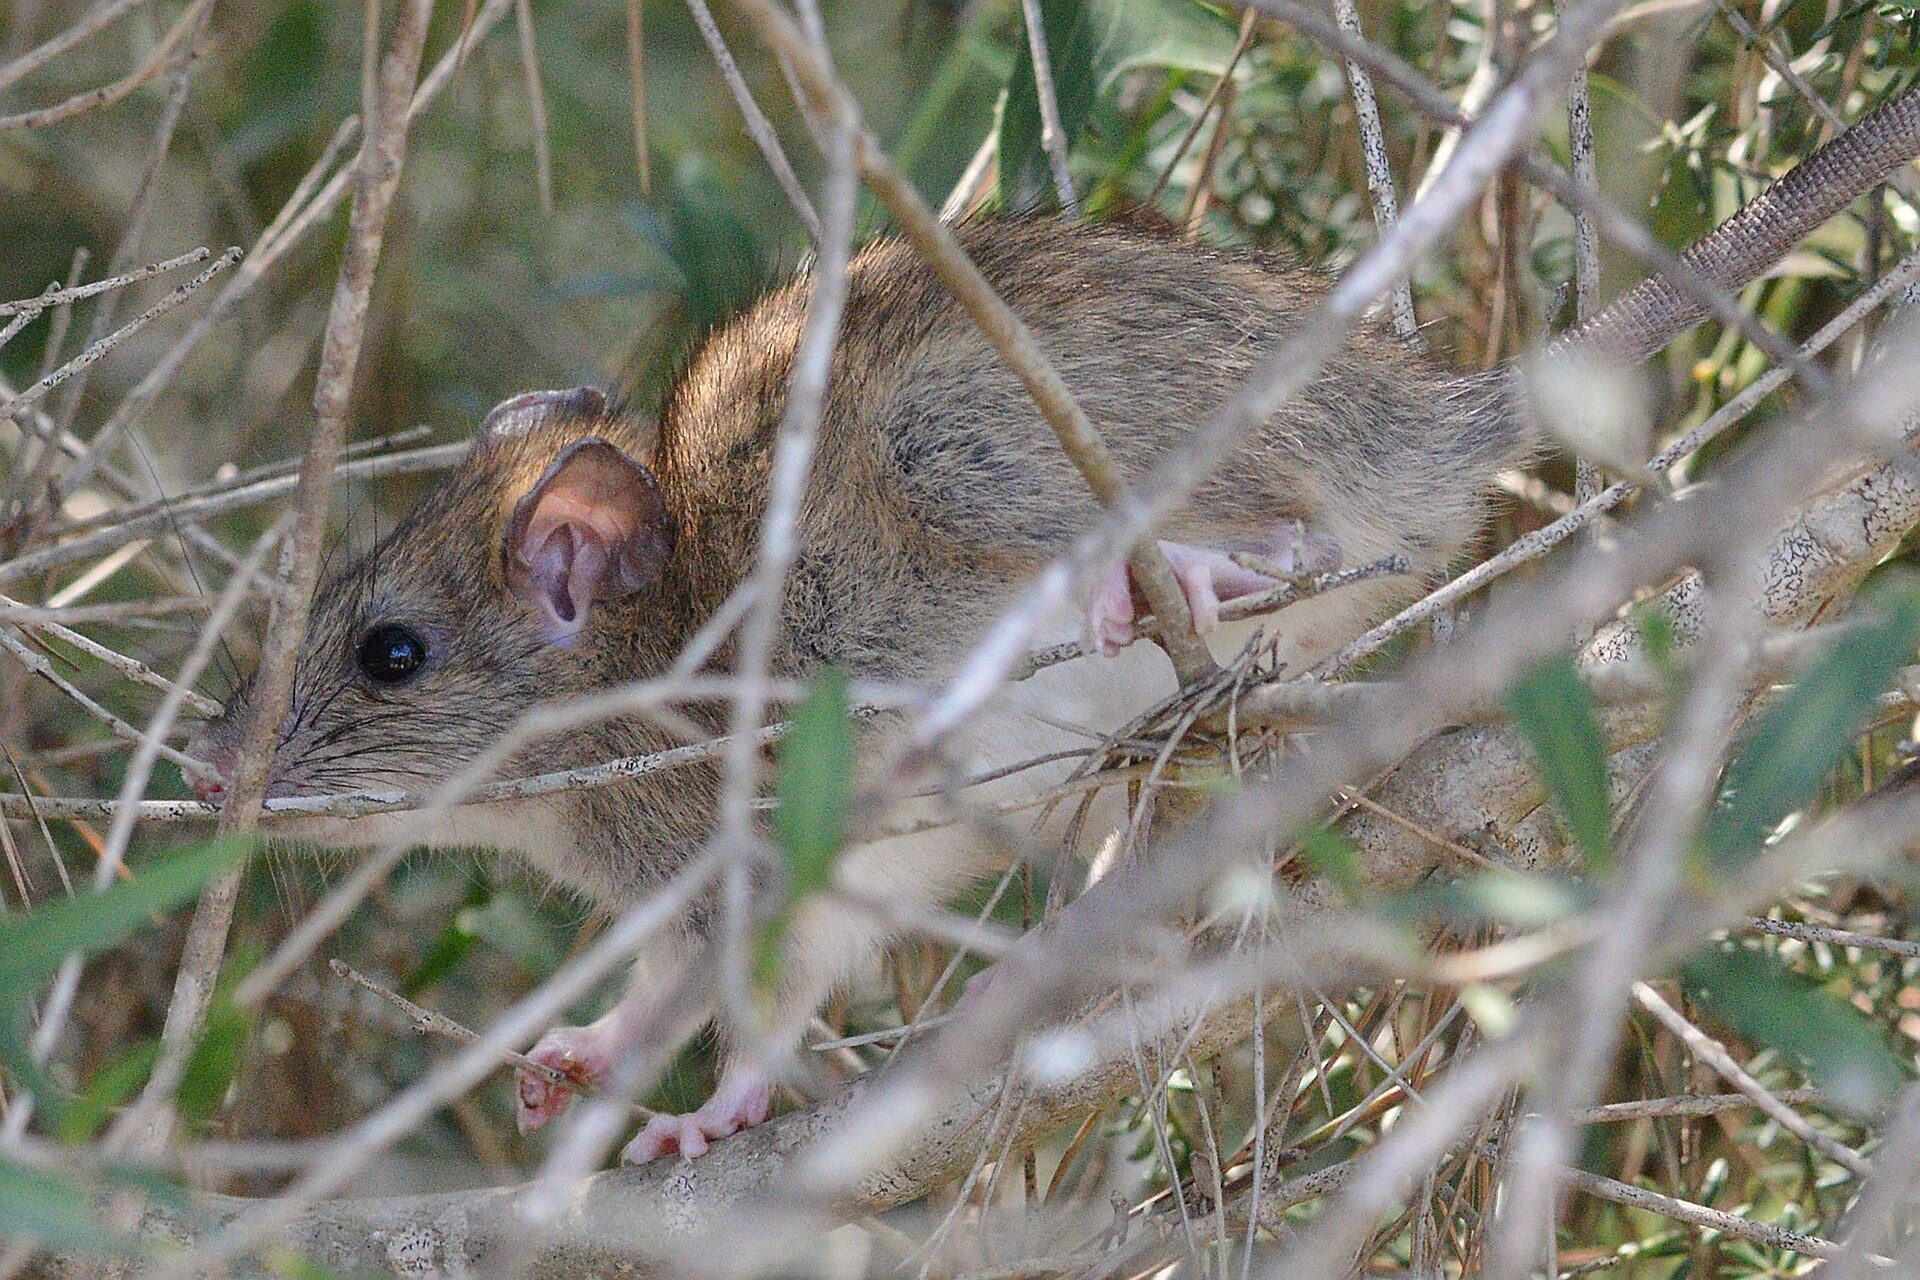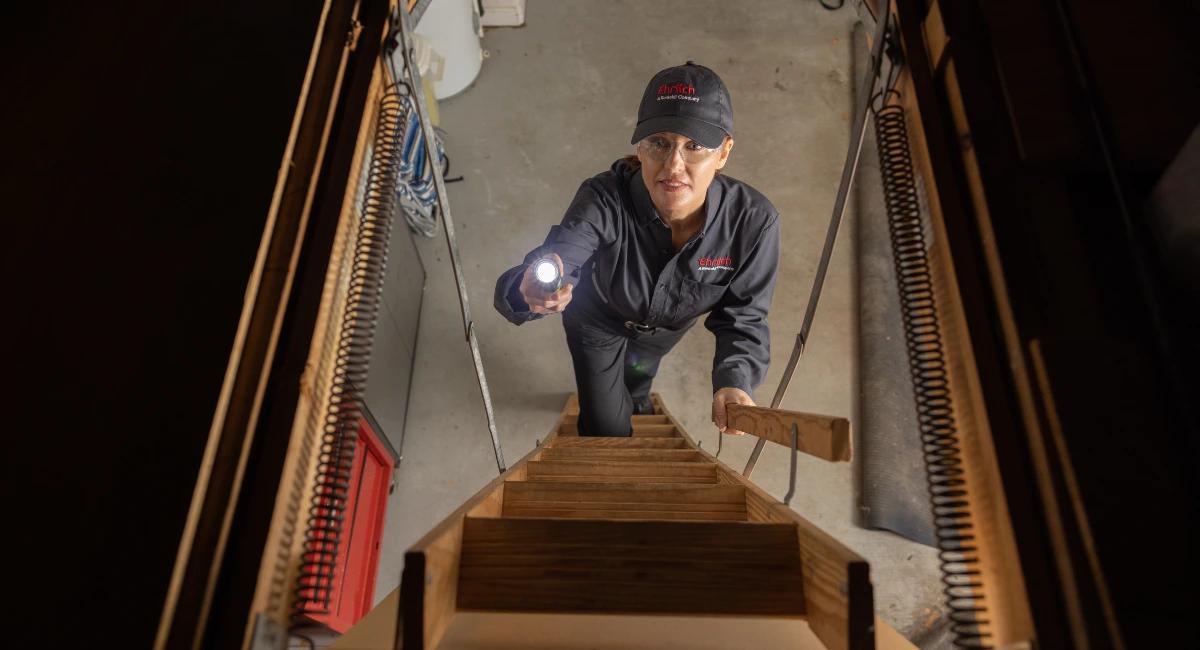
Most people call about noise, then ask whether it is definitely rats. You can usually answer that yourself in twenty minutes with a torch, because rats leave a lot of evidence and most of it sits in predictable places.
Here are the nine signs worth checking, what each one means, and how to read the combination for the size of the problem.
1. Droppings — and where they sit
Droppings are the most reliable single piece of evidence, because a rat produces 30 to 50 a day and drops them as it travels.
Rat droppings are 12 to 18 millimetres long, dark, and tapered at one or both ends. Roof rat droppings are more curved and pointed; Norway rat droppings are blunter and thicker. Fresh droppings are dark and slightly soft; old ones are grey, dry and crumble under pressure. That difference tells you whether the activity is current.
Location narrows down the species and the nest:
- Roof cavity, along the top of wall plates, on stored boxes — roof rats.
- Subfloor, along the base of external walls, near drains and compost — Norway rats.
- Behind the fridge, under the dishwasher, in the back of a pantry, inside a cutlery drawer — an animal feeding inside the living space.
Never dry-sweep or vacuum droppings. That aerosolises the material and whatever it carries. Ventilate, dampen with a disinfectant solution, wear disposable gloves and a P2 mask, and bag the waste.
2. Gnaw marks
Rat incisors grow continuously, so they gnaw constantly to wear them down. That produces damage on materials with no food value at all.
Look for paired parallel grooves roughly 3 to 4 millimetres apart on timber edges, door frames, skirting, plastic pipe, cable insulation and stored packaging. Fresh gnawing on timber is pale against the weathered surface around it; old damage has darkened.
Cable damage is the one that matters most. Rodents are a recognised contributor to house fires, and chewed insulation on a live circuit inside a ceiling is not a problem you can see from below. Downlight transformers and cable runs across ceiling joists are the common sites.
3. Rub marks and smears
Rats have poor eyesight and navigate by touch, running the same routes nightly with their flank against a vertical surface. Oil and dirt from the coat transfer to the surface and build into a dark, greasy smear.
Check the base of skirting boards, the tops of wall plates in the roof, where pipes and cables pass through walls, along beams, and around the edges of any hole they use. A smear at an opening is proof the opening is active.
Rub marks matter for a second reason: they take weeks of repeated travel to form. A well-developed smear means the population has been there a while.
4. Noise, and what time you hear it
Rodent noise is light, fast and intermittent — scurrying, scratching and gnawing rather than the heavy thumping of a possum. Rats move in bursts through the night rather than in the two clean peaks a possum produces at dusk and before dawn.
Location tells you where the nest is. Noise above the ceiling and travelling horizontally along joists suggests roof rats. Noise low in a wall, or under the floor, suggests Norway rats or mice.
One useful test: knock on the ceiling. Rodent activity stops abruptly and resumes within a minute or two. A possum is far less bothered.
5. Nesting material
Rats shred soft material into a nest roughly the size of a football, tucked into an insulated void.
Look for shredded insulation batts, torn paper and cardboard, chewed fabric, stripped building wrap, and plant material dragged inside. The common sites are inside roof insulation, behind stored boxes in a garage, in the back of a rarely opened cupboard, inside a wall cavity, and under a subfloor near a warm spot such as hot water pipes.
Finding an actual nest tells you the population is breeding on site rather than passing through, which changes the treatment from a couple of traps to a proper station plan.
6. Smell
An established population produces a persistent musky, ammonia-like smell from urine. It concentrates in enclosed spaces — a roof cavity, a subfloor, the back of a pantry, a closed cupboard — and it is often the first thing noticed when opening a manhole.
It is distinct from a decomposition smell, which is heavier, sweeter and unmistakable. If what you have is the decomposition smell, something has died and that is a different job.
7. Runways and tracks in dust
Rats use fixed runs, and in dusty areas the run becomes visible: a clear track through dust in a roof cavity, a flattened path through insulation, a trail through the dust on top of a wall plate.
If you want to confirm activity on a suspected run, dust a light layer of talc or plain flour across it and check in the morning. Footprints and a tail drag mark confirm it. It costs nothing and it is the cheapest monitoring available to a homeowner.
8. Pet behaviour
Dogs and cats detect rodents well before people do. A dog that fixates on one section of wall, sits staring at the ceiling, or scratches at a particular skirting board is worth taking seriously. Cats may become alert at a specific spot at night.
This is a locator, not a solution. A cat may take individual mice; it will not control a breeding rat population in a wall cavity, and it will not go near a full-grown Norway rat.
9. Damage to food packaging
Inside the living space, look for gnawed corners on boxes and bags in the pantry, spilled dry goods, holes in packaging near the back of shelves, and droppings among stored food. Rats prefer to feed at the back of a shelf where they are covered on three sides.
Anything gnawed, and anything in an unsealed container in an affected pantry, goes in the bin. Restock into sealed hard containers.
How to check tonight: a twenty-minute walk-through
In this order:
1. Pantry and under-sink cupboards. Empty the back shelf. Check for droppings, gnawed packaging and smears at the corners.
2. Behind and under appliances. Fridge, dishwasher, oven. Warm, dark and undisturbed — the most common indoor nesting area.
3. Skirting boards around the perimeter of the ground floor. Torch held low and along the surface so smears and droppings catch the light.
4. Laundry and any service penetration. Where pipes enter walls, look for gnawing and smears around the collar.
5. Garage and any stored cardboard. Shredded material and droppings among boxes.
6. The manhole. Open it and smell before you look. Then torch along the top of the wall plates near the perimeter, which is the roof rat highway, and check the insulation surface for tracks.
7. Outside at dusk. Walk the perimeter. Look at weep holes, air vents, the gap where the roof meets the gutter, and any point where a pipe or cable enters the building. Check whether branches or a fence line touch the roof.
Take photos of anything you find. It shortens the inspection when someone comes out and it gives you a baseline to compare against later.
What the evidence tells you about size
| Evidence | Likely picture |
|---|---|
| A few scattered droppings, no smears, occasional noise | Recent activity, possibly one or two animals |
| Droppings concentrated on defined runs | Established route, more than one animal |
| Developed rub marks | Weeks or months of continuous occupation |
| Nest found with shredded material | Breeding on site |
| Daytime sightings | Population large enough that competition is displacing individuals |
| Strong ammonia smell in the cavity | Established, sustained population |
| Fresh gnawing on cable | Immediate risk, regardless of population size |
Two or more of these together means you are past the point where a couple of supermarket traps will resolve it.
When it is more than a single animal
Rats breed fast enough that the delay itself is the problem. A pair of roof rats can produce five to ten young per litter, four to six times a year, with young sexually mature at around three months. The population curve is steep and it compounds, which is why a problem that needed one visit in March needs three by June.
What to do next
Do not start with bait from the supermarket. Placement is what makes any product work, and bait placed off the run gets ignored while the population keeps growing. Loose bait also creates a secondary poisoning risk to pets, owls and other wildlife.
Do the two things that always help. Remove the food source — sealed containers, bins with fitted lids, fallen fruit picked up, pet food not left out overnight, compost enclosed. And find the entry points: rats need about 20 millimetres, mice about 6.
Then get the treatment and the proofing done together. Treatment without proofing clears the current population and leaves the building open for the next one. Proofing without treatment seals rodents inside. The order — survey, treat on the active runs, monitor, then seal to the right tolerance — is what makes the result permanent.
If you have found fresh gnawing on electrical cable, treat that as urgent rather than routine.
The 20mm audit: finding how they got in
Once you have confirmed rodents, the useful next hour is spent outside rather than inside. Rats need roughly 20 millimetres to pass; mice need about 6. Walk the perimeter with that measurement in mind and check these points in order.
Where the roof meets the gutter. The most common roof rat entry on a tiled house. Look along the eaves line for gaps behind the fascia, broken eave sheeting and lifted tiles at the edge.
Weep holes. The deliberate gaps in brickwork above the damp course. Essential for ventilation, so they are screened rather than sealed, with purpose-made covers.
Service penetrations. Every point where a pipe, cable or duct enters the building. Air-conditioning penetrations are the ones most often left with a finger-width gap around the collar.
Subfloor vents. Corroded or missing vent covers are an open door to a subfloor, and from a subfloor the wall cavities are open to the whole house.
The garage. A roller door with a worn seal leaves a gap along the bottom, and an internal door into the house completes the route.
Roof vents, whirlybirds and the chimney. All need screening.
Where an extension meets the original building. Different roof heights and materials rarely meet perfectly, and the junction is a reliable entry point.
Overhanging branches and fence lines. Not gaps, but the access route. Roof rats are excellent climbers and a branch within a couple of metres of the roof is a bridge.
Photograph everything you find. It makes the quote faster and more accurate.
What treatment costs, and what drives the number
Rodent work is priced on property size, severity and proofing scope — not on the number of rats.
Property size and layout. A single-storey house with one roof cavity is a straightforward station plan. A two-storey with separate voids, a subfloor and an attached garage is three treatment areas.
Severity. A population caught early needs fewer stations and one follow-up. An established colony nesting in the insulation needs more stations, more visits, and usually insulation work afterwards.
Proofing scope. The biggest variable and the one worth spending on. Sealing a modern brick-veneer house to 20mm might take a couple of hours. Sealing a century-old weatherboard cottage with a raised subfloor, original vents and a re-roofed extension is a much larger job — and it is the job that stops you paying for treatment every autumn.
Access. Confined subfloors, steep roofs and second-storey work all add time.
Remediation. Contaminated insulation removal and sanitisation are separate from the treatment and should be quoted separately.
The inspection should be free and the price fixed before work starts.
What not to do while you wait
- Do not scatter loose bait. Poisoned rodents die where they nest, which is usually somewhere you cannot reach, and you trade a rodent problem for a decomposition problem. Loose bait also kills owls, raptors and pets through secondary poisoning.
- Do not seal the building first. Proofing before treatment traps the population inside with your food supply and no exit.
- Do not dry-sweep droppings. Dampen, disinfect, wear gloves and a P2 mask, and bag the waste.
- Do not rely on ultrasonic repellers. Independent testing has repeatedly failed to show sustained effect; rodents habituate within days.
- Do not ignore fresh gnawing on cable. That one is urgent.
Want it handled instead?
A licensed technician is on site within 60 minutes across Sydney, Brisbane, Canberra and Melbourne. Free inspection, fixed price, booking confirmed within 10 minutes.